Home Safety and Joint Replacement: Creating Your Recovery Sanctuary
Learn how to prepare your home for a safe and successful joint replacement recovery. Get expert tips on equipment, modifications, and creating the ideal healing environment.
On this page

Transforming Your Home Into a Healing Haven
Imagine walking through your front door after joint replacement surgery and feeling completely safe, supported, and ready to heal. That's not just wishful thinking—it's entirely achievable with thoughtful preparation that transforms your familiar living space into a recovery sanctuary designed specifically for your success.
Your home has been your comfortable refuge for years, but joint replacement recovery temporarily changes the rules of daily living. That beloved throw rug in your hallway? It might become a dangerous obstacle. The beautiful hardwood floors you've admired? They could turn slippery with mobility aids. The bathroom that's served you well? It may need significant modifications to support your recovery journey.
But here's the encouraging truth: with some strategic planning and modifications, your home can become your greatest ally in recovery rather than a source of anxiety and potential hazards.
Seeing Your Home Through Recovery Eyes
The first step in creating your recovery sanctuary involves a fundamental shift in perspective. You need to walk through your home not as the mobile, confident person you are today, but as someone who will temporarily rely on mobility aids, have limited range of motion, and need extra stability for even simple movements.
The Daily Route Reality Check
Start this assessment by tracing your most common daily paths—from bedroom to bathroom, from kitchen to living room, from your favorite chair to the front door. These familiar routes will take on entirely new significance during recovery when navigating them safely becomes a primary concern rather than an automatic action.
Pay particular attention to doorways throughout your home. That standard doorway that seems perfectly adequate now might feel impossibly narrow when you're maneuvering a walker or wheelchair. Doorways less than 32 inches wide can create genuine challenges, while furniture placed too close to entrances can turn simple transitions into complex navigation exercises.
The Hidden Hazards Lurking Underfoot
Your floors, which have provided stable footing for years, deserve careful scrutiny during this assessment. Those decorative area rugs that add warmth and style to your rooms can become treacherous trip hazards when your balance is compromised and your attention is focused on managing mobility aids.
Transitions between different flooring types—from hardwood to tile, or from carpet to linoleum—can create unexpected challenges. Even slight elevation changes that you've navigated thoughtlessly for years can become significant obstacles when you're learning to use crutches or a walker.
Hardwood and tile floors, while beautiful and easy to clean, present unique challenges during recovery. These surfaces can become surprisingly slippery, especially when they encounter moisture from cleaning or spills. The rubber tips on walkers and crutches, while designed for stability, can sometimes slip on smooth surfaces, creating moments of uncertainty just when you need confidence most.
Lighting: Your Unsung Safety Hero
Adequate lighting often goes unnoticed until it's missing, but during joint replacement recovery, proper illumination becomes a crucial safety feature. That dimly lit hallway between your bedroom and bathroom, which you've navigated countless times in the dark, takes on new importance when your balance is compromised and your mobility is limited.
Consider the lighting along your most frequently traveled routes, particularly paths you'll use during nighttime trips to the bathroom. These journeys, which once required no conscious thought, will demand careful attention during early recovery when getting up in the dark feels less automatic and more like a planned expedition.
The Essential Transformation: From Hazardous to Healing
Once you've identified the potential challenges in your home, the next step involves making strategic modifications that eliminate risks while maintaining the comfort and functionality you cherish. Think of this process not as compromising your home's character, but as temporarily optimizing it for your most important goal: successful recovery.
Clearing the Path to Success
The most fundamental change involves creating obstacle-free pathways throughout your home. This means taking a hard look at items you've grown accustomed to stepping around or over—items that never posed problems when your mobility was unrestricted but could become genuine threats during recovery.
Start with those area rugs that define your living spaces and add visual warmth to your rooms. While beautiful and functional under normal circumstances, loose rugs become significant trip hazards when you're focusing on managing mobility aids rather than watching every step. The solution is simple but effective: either remove them entirely during your recovery period or secure them firmly with carpet tape or rubber backing that eliminates any possibility of sliding or bunching.
Electrical cords, pet toys, shoes, and even magazines or books left on floors transform from minor inconveniences into potential fall hazards. This doesn't mean living in a sterile environment—it means being strategic about keeping floor surfaces completely clear along your primary travel routes.
Grab Bars: Your New Best Friends
Installing grab bars represents one of the most important investments you'll make in your recovery safety, and there's excellent news for Medicare beneficiaries: these essential safety features are typically covered when prescribed by your physician as durable medical equipment.
But not all grab bars are created equal, and proper installation can literally be a matter of safety versus injury. These bars need to be anchored securely to wall studs rather than just attached to drywall, because your safety depends entirely on their ability to support your full body weight during transfers and movements.
The strategic placement of grab bars can transform your most challenging spaces into manageable ones. In the shower, they provide crucial stability for entering, exiting, and maintaining balance while bathing. Next to the toilet, they make the sitting and standing transitions—often the most difficult movements during early recovery—significantly safer and more independent. Along any stairs you use regularly, they offer continuous support that builds confidence and prevents falls.
Illuminating Your Path to Recovery
Lighting improvements offer one of the most cost-effective ways to dramatically reduce your fall risk, especially during those inevitable nighttime trips to the bathroom that become more frequent and challenging during recovery. Motion-sensor lights provide an elegant solution, automatically illuminating your path without requiring you to fumble for switches in the dark or wake others in your household.
Consider upgrading to brighter bulbs in existing fixtures along your primary pathways, and explore battery-operated stick-on lights for areas where electrical access is limited. These simple additions can transform potentially treacherous nighttime navigation into confident, safe movement.
Rethinking Your Furniture Geography
The familiar arrangement of furniture in your living spaces may need temporary adjustment to accommodate your recovery needs. Creating wider walking paths with at least 36 inches of clear space isn't just about accommodating wheelchairs and walkers—it's about providing adequate maneuvering room and ensuring that caregivers can assist you safely without feeling cramped or restricted.
This might mean temporarily relocating that favorite side table or pushing the coffee table further from the sofa. While these changes might feel significant, remember that they're temporary investments in your safety and independence during the most crucial phase of your recovery.
Equipping Your Recovery Arsenal: Tools That Transform Challenges Into Confidence
The right equipment can make the difference between struggling through daily activities and maintaining independence with confidence during your recovery. The encouraging news for Medicare beneficiaries is that many of these essential items are covered when prescribed by your physician as durable medical equipment, making them accessible and affordable.
Mobility Aids: Your Temporary Partners in Independence
Your mobility aid isn't just a medical device—it's your temporary partner in maintaining independence and confidence during recovery. The specific device you'll use depends on your surgery type, recovery progress, and individual needs, but your physical therapist will guide you toward the option that provides optimal safety and comfort.
Whether you're using a walker for maximum stability, crutches for greater mobility, or a cane for light support, proper fitting is crucial. A device that's too tall or too short can create additional strain and actually increase your fall risk rather than reducing it. Your therapist will adjust your mobility aid to your exact height and teach you proper technique for safe, efficient movement.
Transforming Your Bathroom Into a Recovery Oasis
Your bathroom often becomes the most challenging room to navigate during recovery, but with the right equipment, it can transform from a source of anxiety into a place of renewed independence and confidence.
A raised toilet seat represents one of the most valuable investments in your recovery comfort. By adding 3-4 inches of height, this simple device makes the sitting and standing transitions—often the most difficult movements during early recovery—significantly easier and safer. The reduced distance and improved leverage can mean the difference between struggling with transfers and managing them independently.
Shower safety becomes paramount when your balance and mobility are compromised. A shower chair or bench enables safe bathing when standing for extended periods feels challenging or unsafe. Combined with a hand-held shower head, you gain better control over water placement and can wash efficiently while maintaining stability and comfort.
Non-slip bath mats with strong suction cups create secure footing in wet conditions, but they need to be positioned strategically and checked regularly to ensure they remain firmly in place. The combination of water and smooth surfaces can be treacherous during recovery, making these simple safety devices essential rather than optional.
Bedroom Setup: Your Command Center for Recovery
Your bedroom often becomes recovery headquarters during the early weeks following surgery, so optimizing this space for safety and convenience pays dividends in comfort and independence.
Bed rails or a bed cane provide crucial support for getting in and out of bed safely, but they also offer psychological benefits by increasing your confidence in managing these transfers independently. The security of knowing you have stable support readily available can help you sleep better and approach daily activities with greater confidence.
A reacher or grabber tool with at least 32-inch length becomes an extension of your independence, allowing you to access items without excessive bending, stretching, or asking for help. From picking up dropped items to reaching clothes in the closet, this simple tool preserves your autonomy in countless daily situations.
Extra pillows serve multiple purposes beyond comfort. They help maintain proper joint alignment during sleep, can be used for elevation to reduce swelling, and provide support for your surgical site when sitting or lying down. Having several available allows you to adjust your positioning as needed throughout your recovery.
Kitchen Independence: Maintaining Culinary Confidence
Maintaining your ability to prepare meals and care for yourself in the kitchen represents an important aspect of recovery independence. The right tools can help you continue these meaningful activities safely while accommodating your temporary limitations.
Lightweight dishes and utensils reduce the risk of dropping items while making handling easier when your strength is limited. This doesn't mean compromising on functionality—many modern lightweight options are both durable and attractive, allowing you to maintain your normal meal routines with greater confidence.
Reachers designed for kitchen use allow safe access to high shelves without dangerous stretching or climbing. Having items you use regularly at convenient heights eliminates the need for risky reaching and reduces frustration with daily meal preparation.
Non-slip mats on counter surfaces prevent dishes and utensils from sliding during preparation, reducing both mess and safety risks. These simple additions create a more stable work environment that accommodates the changes in dexterity and coordination that often accompany early recovery.
4. Room-by-Room Setup Guide
Bedroom Optimization: Position your bed so you can exit on the side closest to the bathroom. Ensure the mattress height allows your feet to touch the floor when sitting—typically 20-23 inches from the floor. Remove or secure any bedside rugs, and ensure good lighting between the bed and bathroom.
Bathroom Configuration: This is your highest-priority space for modifications. Install a raised toilet seat and grab bars before surgery. Set up your shower chair and organize toiletries within easy reach. Consider a shower caddy that hangs from your grab bar to keep essentials accessible.
Kitchen Preparation: Stock your most-used items at counter height or in easily accessible cabinets. Prepare and freeze meals in advance, focusing on nutritious options that support healing. Set up a comfortable area where you can sit while preparing simple meals.
Living Areas: Choose one main area for daily activities and ensure it has good lighting, comfortable seating at the right height (seat should be 18-20 inches high), and space for your mobility aids nearby.
5. Preparing Your Support Team
Educate your caregivers on:
Transfer Techniques require careful instruction and practice before your surgery. Have your caregivers practice helping you move from bed to chair, car to house, and other common transfers you'll need during recovery. Proper technique protects both you and your helper from injury, while improper assistance can cause serious harm to both parties.
Equipment Use knowledge prevents frustration and safety issues during recovery. Ensure your caregivers understand how to adjust and use your mobility aids, shower equipment, and other medical devices. This includes proper height adjustments, safety features, and maintenance requirements for each piece of equipment.
Emergency Procedures planning provides peace of mind for everyone involved. Make sure your caregivers know who to call for different situations: your surgeon for surgical concerns, your primary care physician for other medical issues, and when to call 911 for true emergencies. Clear communication guidelines prevent delays in getting appropriate help.
Medication Management becomes crucial during recovery when pain medications and other prescriptions require precise timing. Train your caregivers to help track your medications, understanding proper timing, dosages, and potential side effects. This knowledge helps ensure safe and effective pain management throughout your recovery.
6. Emergency Preparedness
Set up systems before surgery:
Communication systems should be established well before surgery. Keep all important phone numbers easily accessible by programming emergency contacts into your phone and posting them near your landline if you have one. This ensures help is always just a phone call away, even if technology fails.
Medical Information organization can be lifesaving in emergency situations. Prepare a simple sheet with your surgery details, current medications, allergies, and emergency contacts. Keep copies in multiple locations including your wallet, refrigerator, and with trusted family members so crucial information is always available when needed.
Transportation arrangements prevent missed appointments and reduce stress. Arrange reliable transportation for all follow-up appointments well in advance of your surgery. Medicare may cover medical transport in certain situations when you're unable to use regular transportation, so check with your specific plan about available benefits and requirements.
Warning Signs: Know the signs that require immediate medical attention: excessive swelling, signs of infection (redness, warmth, discharge), chest pain, or breathing difficulties.
What Medicare Covers for Home Safety
Equipment Medicare Typically Covers
- Grab bars: When prescribed by your physician
- Raised toilet seat: As durable medical equipment
- Shower chair or bench: With prescription
- Walker or crutches: As prescribed by your surgeon
- Bed rails: When medically necessary
You'll Pay Out of Pocket For
- Home modifications (ramps, doorway widening)
- Most furniture adjustments
- Lighting improvements
- Non-slip mats and rugs
- Kitchen equipment
Budget Estimate: Plan for $200-500 in out-of-pocket costs for essential safety items Medicare doesn't cover.
Check Your Medicare Advantage Plan: Some plans offer additional home safety benefits or equipment allowances.
Final Thoughts
Creating a safe home environment before surgery is one of the most important steps you can take for a successful recovery. Start your preparations 4-6 weeks before surgery, involve family members in planning, and don't hesitate to ask your surgeon or physical therapist for specific recommendations based on your surgery type.
Remember: these modifications are temporary investments in your safety and independence. Most changes can be reversed once you've fully recovered, but during those crucial first weeks and months, they can make the difference between a smooth recovery and unnecessary complications.
This article is for informational purposes only and should not be considered medical advice. Always consult with qualified healthcare professionals for medical decisions.
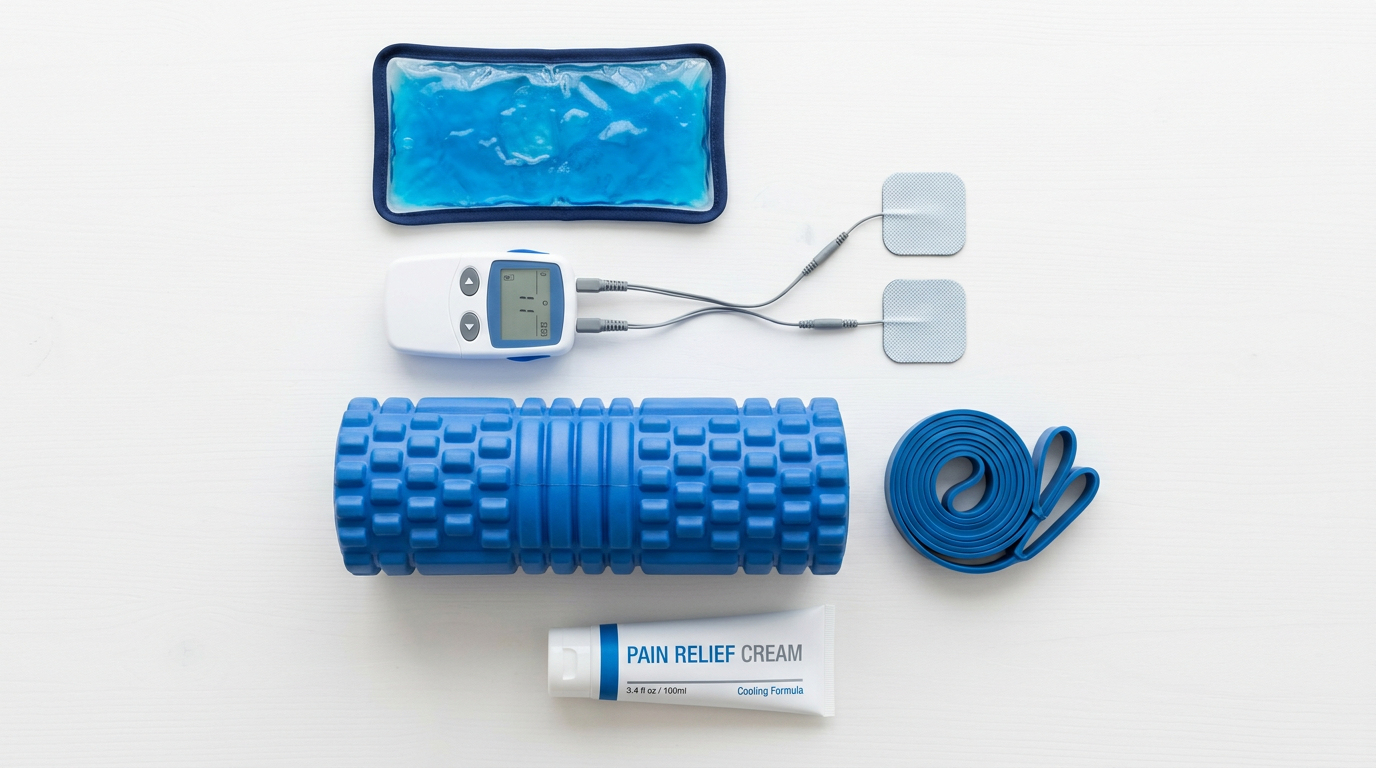
Recovery Product Recommendations
Setting up your home correctly starts with having the right equipment ready before surgery. Our procedure-specific guides include curated recovery essentials for every stage of recovery.
- Hip Replacement Recovery Guide — rollators, raised toilet seats, shower chairs, leg elevation pillows, cold therapy
- Knee Replacement Recovery Guide — walkers, cold therapy machines, compression, pedal exercisers
- Shoulder Replacement Recovery Guide — wedge pillow, shower chair, over-door shoulder pulley, reacher tool
References
[1] Centers for Medicare & Medicaid Services. (2025). CY 2025 Medicare Hospital Outpatient Prospective Payment System. Retrieved from https://www.cms.gov/medicare/medicare-fee-for-service-payment/hospitaloutpatientpps
[2] Medicare Payment Advisory Commission. (2025). Report to the Congress: Medicare Payment Policy. Retrieved from https://www.medpac.gov/document/medpac-report-to-the-congress-medicare-payment-policy-2025/
[3] Centers for Medicare & Medicaid Services. (2025). Medicare Advantage Program: Rate Announcement and Call Letter. Retrieved from https://www.cms.gov/medicare/health-plans/medicare-advantage/medicare-advantage-rates-statistics
[4] American Academy of Orthopaedic Surgeons. (2024). Home Safety Guidelines for Joint Replacement Patients. Retrieved from https://www.aaos.org/patient-safety/
[5] Journal of the American Medical Association. (2024). Home Environment Modifications and Post-Surgical Outcomes. Retrieved from https://jamanetwork.com/journals/jama/
[6] New England Journal of Medicine. (2024). Fall Prevention in Joint Replacement Recovery. Retrieved from https://www.nejm.org/